3-Ingredient Greek Yogurt Popsicles You may also find Tasty Elote Pasta Salad Greek Yogurt Moanas Kitchen useful.
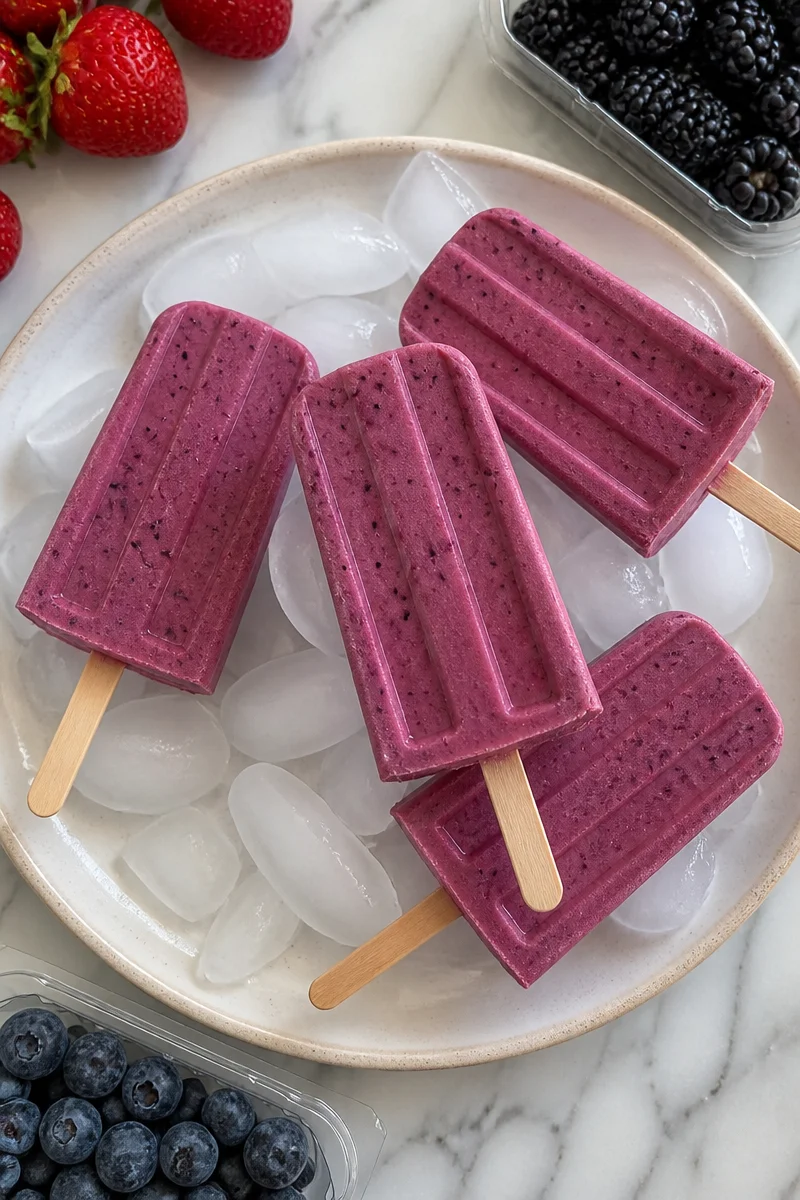
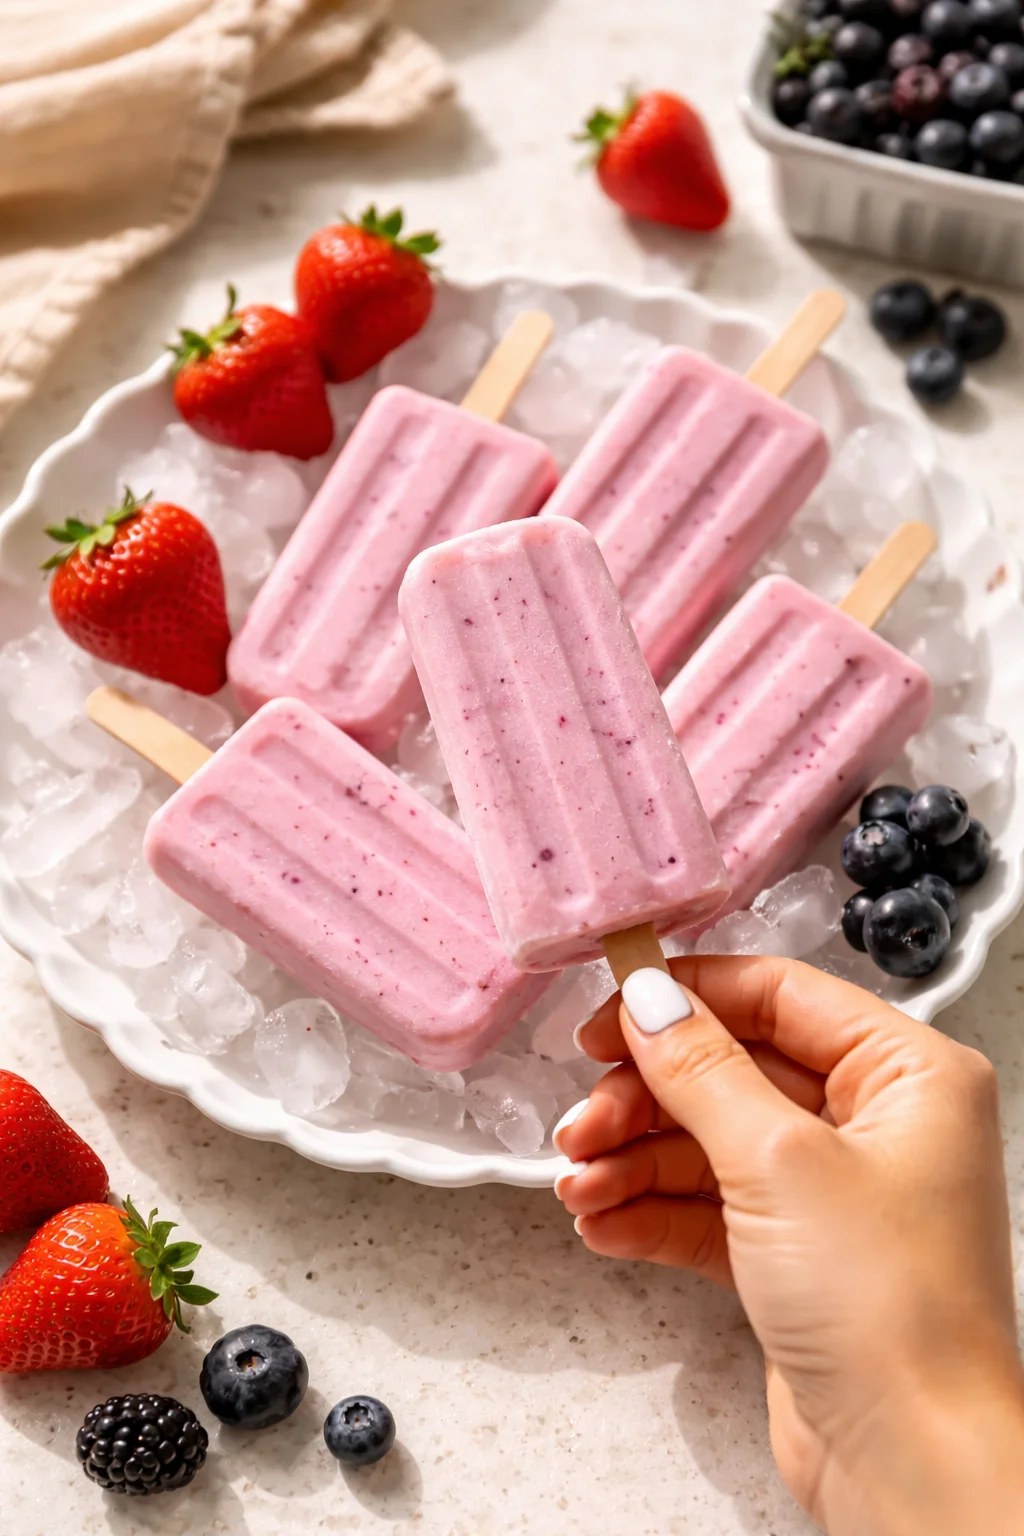
There’s something magical about childhood memories centered around popsicles. Remember those hot summer days when all you wanted was a refreshing treat? No other popsicle prepared me for the joy of diving into creamy, tangy 3-Ingredient Greek Yogurt Popsicles. Made simply from yogurt, fruits, and a hint of sweetness, these delightful frozen snacks are not just a treat but a comforting reminder of family gatherings and sunny afternoons. As you savor each bite, you’ll find yourself transported back to moments full of laughter and warmth. Plus, they’re versatile enough to fit into any diet, making them a favorite among friends and family alike.
Why You’ll Love This Recipe
- Simplicity: With just three ingredients, you can whip these popsicles together in no time, making them a quick solution for warm days.
- Delightful Flavors: The natural sweetness of fruits combined with the creaminess of Greek yogurt creates a perfect balance that will please everyone’s palate.
- Healthier Option: Say goodbye to processed sugary treats and indulge in something that’s both nutritious and delicious.
- Flexibility: You can easily customize these popsicles with your choice of fruits, ensuring every batch is unique and exciting.
- Fun for the Family: Get the kids involved! Let them pick their favorite fruits and help create these delicious popsicles.
Ingredients
- 2 cups Greek yogurt: Use full-fat for creaminess, or opt for low-fat for a lighter version.
- 1 cup fruit of your choice: Fresh or frozen berries, bananas, or even mango work beautifully.
- 2 tablespoons honey or maple syrup: Adjust based on your sweetness preference.
Prep and Cook Time
- Prep Time: 10 minutes
- Total Time: 4 hours (for freezing)
- This is a make-ahead recipe; simply prepare it in the morning and enjoy it in the afternoon or evening!
Step-by-Step Instructions
- In a blender, combine the Greek yogurt and sweetener, blending until smooth. This will ensure all ingredients are well incorporated and provide a creamy texture.
- Add your chosen fruit and pulse the blender a few times. You want to leave some chunks for texture, so don’t blend it completely.
- Pour the mixture into popsicle molds, leaving a little space at the top for expansion as they freeze.
- Insert sticks into each mold and place them in the freezer for at least 4 hours, or until completely firm.
- To release the popsicles, run warm water over the outside of the molds for a few seconds. Then, gently pull them out and enjoy!
Variations and Twists
Feeling adventurous? Here are some fun ideas to switch things up:
- Fruity Swirls: Layer different fruit purees at the bottom and top of the mold for a beautiful swirl effect.
- Coconut Delight: Swap half a cup of yogurt for coconut milk for a tropical twist.
- Nutty Crunch: Add crushed nuts or granola to the mixture before freezing for an extra crunch in every bite.
- Herbal Infusion: Experiment with fresh herbs like mint or basil mixed in with your fruits for an aromatic surprise.
Serving Suggestions
These popsicles are perfect for warm weather, but they can also make a lovely addition to parties or casual get-togethers. Serve them alongside a fresh fruit salad or as a light dessert after grilled meals. With their bright colors, they not only taste fantastic but also look great on any table setting.
Storage and Reheating
Store any leftovers in an airtight container in the freezer. They should last for up to a month, although you might devour them long before then! If you’re storing popsicles with different flavors, consider labeling them to avoid surprises later. As these popsicles are best enjoyed frozen, there’s no need to reheat them.
Kitchen Tips for Success
- If you prefer a thicker popsicle, use strained Greek yogurt; it’s rich and creamy, creating a decadent treat.
- Always taste your mixture before pouring it into molds; this is the time to adjust the sweetness or blend in extra fruits.
- If you’re using fruits that brown easily (like bananas), adding a bit of lemon juice can help maintain their vibrant color and flavor.
FAQs
Can I use dairy-free yogurt?
Yes, any dairy-free yogurt can be substituted as a great alternative. Almond, coconut, or oat yogurt can work splendidly!
Can I meal prep these popsicles?
Certainly! They can be made a week in advance, making them a perfect healthy snack option for busy days.
What is the best way to remove the popsicles from the mold?
Running warm water over the outside of the mold will loosen them up, making them easy to release without breaking.
Can I use sweetened yogurt instead of plain?
Absolutely! Just keep in mind to reduce or eliminate the added sweetener to balance the flavor.
Conclusion
The joy of creating 3-Ingredient Greek Yogurt Popsicles extends beyond just indulging in a delicious snack. They bring about a sense of nostalgia, reminding us of carefree summers and the beauty of sharing food with loved ones. Easy, healthy, and versatile, these popsicles are bound to become a staple in your kitchen. Gather your family, explore new flavors, and make delightful memories together. For another refreshing treat to try, check out these Blueberry Yogurt Swirl Popsicles. Happy creating!


