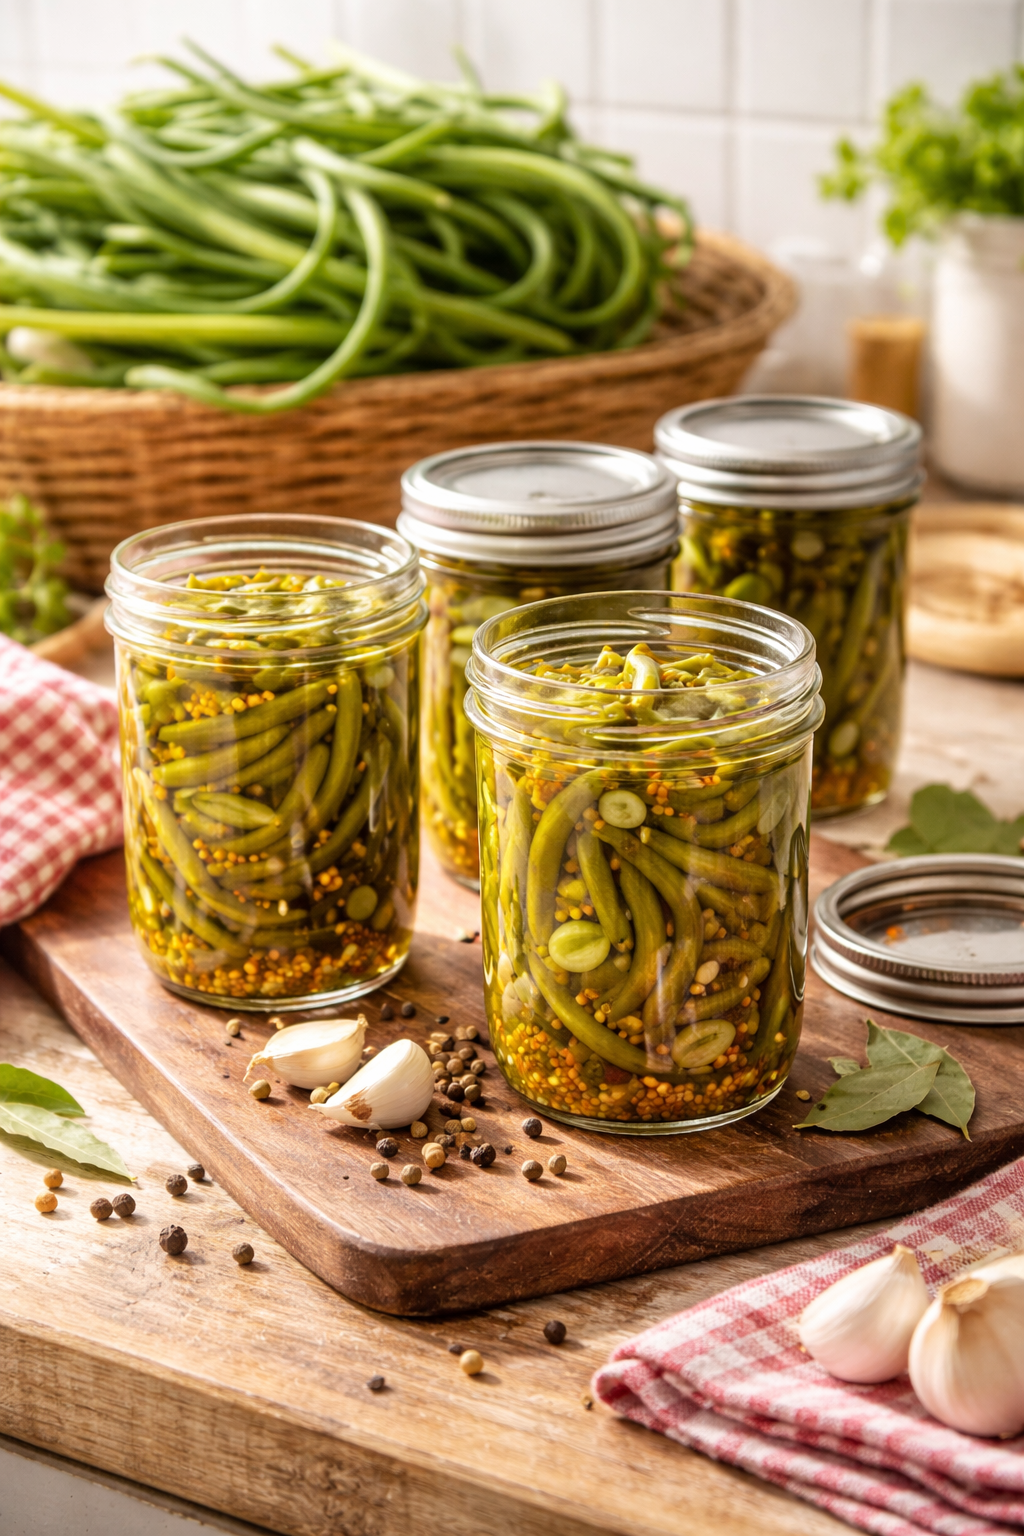
Pickled Garlic Scapes
There’s something magical about transforming simple ingredients into something that sings with flavor and warmth. A batch of pickled garlic scapes captures the essence of home cooking, bringing with it the nostalgic scents of summer gardens and family gatherings. Just the thought of those vibrant green stalks marinating in a tangy brine can transport you to sunlit days spent in a cozy kitchen or a bustling farmer’s market. This recipe is more than just an enchanting way to enjoy a seasonal favorite; it’s a celebration of flavors that embodies the joy of cooking and sharing.

Why You’ll Love This Recipe
Creating pickled garlic scapes is an experience steeped in simplicity and delight. Here are a few reasons why this recipe will endear itself to your heart and palate:
- Delicious Flavors: A perfect balance of tangy and savory, these pickles intensify the unique flavor of garlic scapes.
- Easy to Prepare: With just a handful of ingredients and minimal fuss, you’ll have a delightful homemade treat in no time.
- Versatile Addition: Use pickled garlic scapes in salads, sandwiches, or as a zesty garnish for meats.
- Budget-Friendly: You’ll feel great about making something scrumptious without breaking the bank.
- Crowd-Pleasing: These pickles are sure to impress guests at gatherings, making them a fantastic snack or appetizer.
Ingredients
For this delightful recipe, you’ll need the following ingredients:
- Fresh garlic scapes: Look for vibrant green stalks, which should be tender and crisp.
- White vinegar: For that tangy brine that will make the scapes sing.
- Water: To balance the brine.
- Sugar: A touch of sweetness to enhance the flavors.
- Salt: Essential for taste and preservation.
- Spices: You can use a mix of peppercorns, mustard seeds, or even red pepper flakes for an extra kick.
Feel free to swap out ingredients if needed; you can use different types of vinegar for varied taste profiles!
Prep and Cook Time
- Prep time: 15 minutes
- Chill time: 24 hours (for best flavor)
- Total time: About 24 hours and 15 minutes
This quick recipe allows you to enjoy the fruits of your labor the very next day!
Step-by-Step Instructions
- Prepare the garlic scapes: Trim the ends and cut them into manageable lengths, around 4 to 5 inches.
- Make the brine: In a saucepan, combine equal parts water and white vinegar, adding sugar and salt to taste. Heat until dissolved.
- Add spices: Toss in your chosen spices and bring the mixture to a gentle simmer.
- Pack the scapes: Place the garlic scapes vertically in sterilized jars, ensuring they’re tightly packed.
- Pour the brine: Carefully ladle the hot brine over the scapes, leaving a little headspace at the top. Seal the jars immediately.
- Cool and refrigerate: Allow the jars to cool at room temperature before transferring them to the fridge.
Make sure to let them chill for at least 24 hours to fully develop their flavor!
Variations and Twists
Feel free to get creative with your pickled garlic scapes! Here are a few fun ideas:
- Herbal Infusion: Add a sprig of dill or thyme to enhance the herbal notes.
- Zesty Citrus: Toss in a few slices of lemon or orange for a fresh twist.
- Spicy Kick: Add fresh chili slices or a dash of hot sauce to the brine for some heat.
Each variation opens the door to a new flavor experience, so don’t hesitate to experiment!
Serving Suggestions
Pickled garlic scapes are wonderfully versatile. Serve them with:
- Homemade sandwiches or wraps for added crunch and flavor.
- Charcuterie boards alongside meats and cheeses for a delightful contrast.
- Salads to introduce a zesty flavor that brightens up every bite.
- Tacos, where they can bring a unique twist to your favorite fillings.
These picks not only complement myriad dishes but also add a vibrant pop of color on your plate.
Storage and Reheating
Store your pickled garlic scapes in the refrigerator, where they can last up to two months. Just make sure they are fully submerged in the brine to maintain their crispness. It’s best not to freeze them, as the texture can suffer once thawed.
Kitchen Tips for Success
- Sterilize your jars: Always ensure your jars are well cleaned and sterilized to maintain freshness and prevent spoilage.
- Taste as you go: Adjust the salt, sugar, and vinegar to suit your palate—every kitchen can have its own signature pickled flavor.
- Use fresh ingredients: The fresher the garlic scapes, the better the final product will taste. Try to use them soon after purchasing.
FAQs
Can I use other vegetables?
Absolutely! This pickling method can work with green beans, asparagus, or even radishes.
How spicy can I make these?
Feel free to add more spices or hot peppers depending on your heat tolerance.
Can I use it for meal prep?
Yes! Pickled garlic scapes make a zesty addition to prepped meals and can stretch their flavor across multiple dishes.
Conclusion
Creating your own pickled garlic scapes is a beautiful way to elevate your culinary repertoire and brings a splash of creativity to your kitchen. The vibrant flavors and unique textures offer not just a delightful treat but also a sense of accomplishment and homey warmth. As you gather around the table to share these homemade delicacies, remember to enjoy the process. If you’re curious about different pickling techniques, check out this detailed guide for more inspiration. Happy cooking!
Pickled Garlic Scapes
Ingredients
Method
- Trim the ends of the garlic scapes and cut them into manageable lengths, around 4 to 5 inches.
- In a saucepan, combine equal parts water and white vinegar, adding sugar and salt to taste. Heat until dissolved.
- Toss in your chosen spices and bring the mixture to a gentle simmer.
- Place the garlic scapes vertically in sterilized jars, ensuring they are tightly packed.
- Carefully ladle the hot brine over the scapes, leaving a little headspace at the top. Seal the jars immediately.
- Allow the jars to cool at room temperature before transferring them to the fridge.
- Let the jars chill in the refrigerator for at least 24 hours to fully develop their flavor.