Nori Wraps – Paleo Tuna Salad You may also find Bacon Ranch Pasta Salad useful.
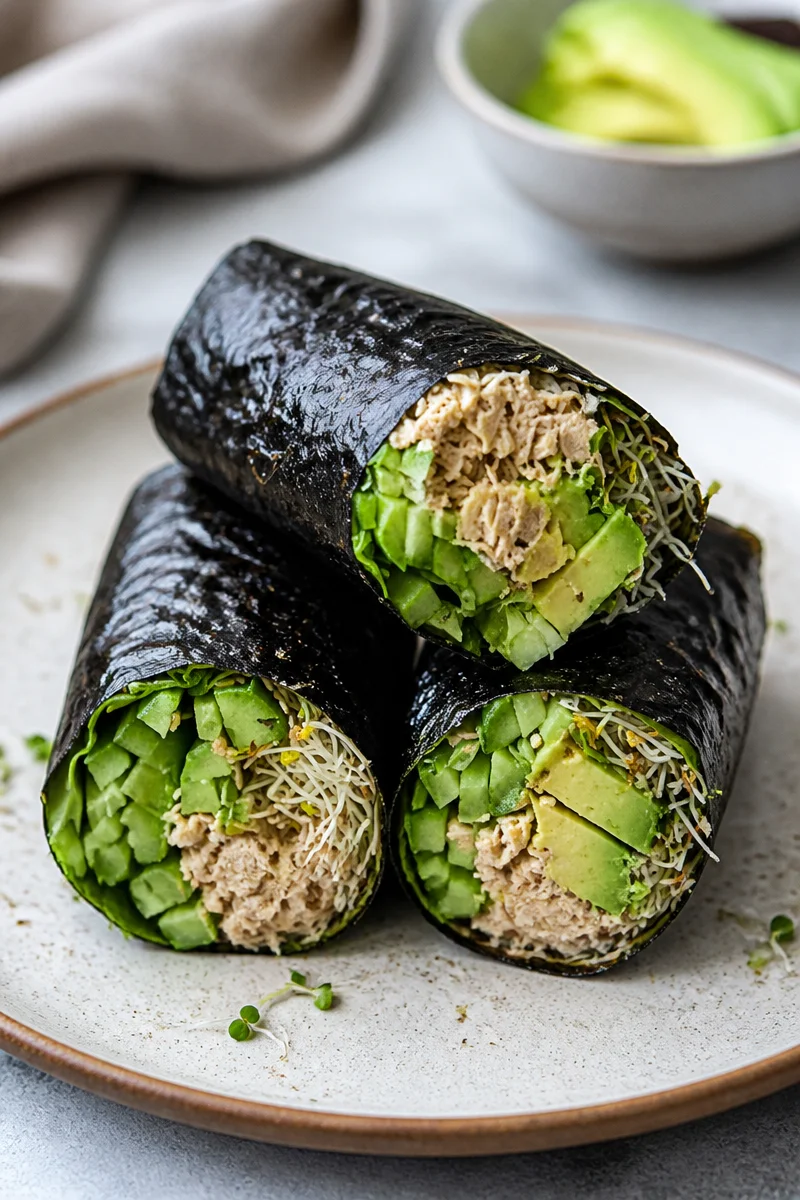
There’s something incredibly soothing about wrapping food in fresh, vibrant ingredients. That’s exactly the essence of Nori Wraps – Paleo Tuna Salad. This dish transports me back to sunny afternoons spent in the kitchen, preparing simple, nourishing meals that remind us of nature’s bounty and good health. With each bite, you’ll indulge in a flavorful experience that honors both traditional preparation methods and modern culinary creativity.
In this article, I’ll guide you through making these delightful wraps, filled with a delicious tuna salad. You’ll quickly see why this recipe is a staple in my home.

Why You’ll Love This Recipe
- Delicious Flavors: The marrying of fresh ingredients with savory tuna creates a meal that’s hard to resist.
- Easy to Prepare: No need for fancy techniques; just mix, wrap, and you’re ready to go!
- Crowd-Pleasing: Perfect for a light lunch or snack, these wraps are sure to impress family and friends.
- Budget-Friendly: Affordable ingredients combine to create an indulgent meal without breaking the bank.
- Nourishing: This wholesome option is packed with protein and healthy fats, making it good for your body and spirit.
Ingredients
To bring this vibrant dish to life, gather the following ingredients:
- 1 can of tuna, drained (I love using sustainably sourced tuna)
- 1 ripe avocado, mashed (the heart of our creamy filling)
- 1 tablespoon of mayonnaise (you can substitute with Greek yogurt for a lighter option)
- 1 tablespoon of Dijon mustard (adds a tangy kick)
- 1 teaspoon of lemon juice (for brightness)
- Sea salt and pepper, to taste
- Nori sheets (one per wrap)
- Fresh veggies for stuffing, like cucumber strips, shredded carrots, and lettuce leaves
Prep and Cook Time
- Prep Time: 10 minutes
- Cook Time: 0 minutes
- Total Time: 10 minutes
This recipe is perfect for a quick, make-ahead meal that you can prepare in no time.
Step-by-Step Instructions
- In a medium bowl, combine the drained tuna, mashed avocado, mayonnaise, Dijon mustard, and lemon juice. Mix well until creamy.
- Season the mixture with sea salt and pepper according to your taste preferences.
- Lay a sheet of nori on a flat surface, shiny side down.
- Spread a generous layer of the tuna salad mixture across the nori sheet, leaving about a 1-inch border on the sides.
- Top with a selection of fresh vegetables for added crunch.
- Carefully roll the nori from the edge closest to you, tucking in the filling tightly as you go. Continue rolling until you reach the end of the nori sheet.
- To seal the wrap, dab a little water on the edge, pressing lightly to secure.
- Slice the rolls into bite-sized pieces and serve immediately.
These wraps not only taste fantastic but also offer a delightful presentation, making every meal special.
Variations and Twists
Feel free to customize your Nori Wraps with your favorite ingredients. Here are a few fun ideas:
- Healthier Swaps: Replace the mayonnaise with Greek yogurt or avocado for a lighter version.
- Festive Versions: Add a splash of sriracha or your favorite hot sauce for spice; enjoy during holidays to spice up your table.
- Regional Spins: Incorporate regional ingredients, such as mango or cucumber, to delight your taste buds.
Serving Suggestions
Nori wraps shine brilliantly on their own, but they can also be complemented by various sides. Consider serving them with a fresh salad or a warm bowl of soup for a cozy dinner. They also make for perfect finger foods during gatherings; pair them with a homemade sauce for an extra kick.
Storage and Reheating
If you have leftovers (if they last that long!), store them in an airtight container in the refrigerator for up to two days. However, it’s best to consume these wraps fresh to keep the nori crispy and the filling delightful. For a meal prep scenario, keep the nori and filling separate until it is time to enjoy.
Kitchen Tips for Success
- Toast Your Nori: Lightly toasting the nori sheets over a flame adds depth of flavor and makes them easier to roll.
- Prep in Advance: You can prepare the tuna salad a day ahead to save time on busy evenings.
- Experiment with Fillings: Don’t hesitate to get creative with different fillings.
FAQs
-
Can I make these wraps ahead of time?
Absolutely! Just store the filling and nori sheets separately to ensure the nori stays crisp. -
What can I substitute for tuna?
You can easily swap tuna with shredded chicken, chickpeas, or any protein of choice. -
Are there gluten-free options?
Yes, nori is naturally gluten-free and pairs well with a variety of proteins and veggies. -
Can I freeze these wraps?
It’s not recommended to freeze these wraps, as the nori may become soggy upon thawing.
Conclusion
Preparing Nori Wraps – Paleo Tuna Salad is more than just about satisfying hunger; it’s about bringing warmth and joy to your kitchen table. Each wrap invites you to savor flavors that resonate with health and comfort, and sharing them with loved ones transforms an ordinary meal into an extraordinary experience. So gather your ingredients, let your creativity flow, and enjoy the pleasures of cooking together. For another delicious recipe idea, check out Nori Wraps with Paleo Tuna Salad.

Nori Wraps – Paleo Tuna Salad
Ingredients
Method
- In a medium bowl, combine the drained tuna, mashed avocado, mayonnaise, Dijon mustard, and lemon juice. Mix well until creamy.
- Season the mixture with sea salt and pepper according to your taste preferences.
- Lay a sheet of nori on a flat surface, shiny side down.
- Spread a generous layer of the tuna salad mixture across the nori sheet, leaving about a 1-inch border on the sides.
- Top with a selection of fresh vegetables for added crunch.
- Carefully roll the nori from the edge closest to you, tucking in the filling tightly as you go. Continue rolling until you reach the end of the nori sheet.
- To seal the wrap, dab a little water on the edge, pressing lightly to secure.
- Slice the rolls into bite-sized pieces and serve immediately.